What’s new in Hyper-V 2016 and How to install Hyper-V Role

1. Hot add and remove for network adapters and memory
Great new feature which gives us ability to add or remove network adapters while VM is running, without downtime. You will need to create generation 2 vm’s to be able to use this feature.
We can also adjust the RAM assigned to VM while it’s running, even if we haven’t enabled Dynamic Memory. This works for both generation 1 and generation 2 VM’s.
2. Linux Secure Boot
For the Linux OS fans there is a new feature which enables Secure Boot. Before you boot the virtual machine for the first time, you must configure the virtual machine to use the Microsoft UEFI Certificate Authority.
3. Nested virtualization
One of my favorite. This feature allows us to run Hyper-V inside of a Hyper-V virtual machine. With nested virtualization we can virtualize a Hyper-V host. To enable it you will need to run at least Windows Server 2016 or Win 10 on both the physical Hyper-V host and the virtualized host and you will need to have a processor with Intel VT-x. It is available only for Intel CPU’s.
4. Production checkpoints
In the previous versions we was able to choose only “Standard Checkpoint” which capture the state of the VM which can be useful if we need to recreate a specific condition of a running VM. Production checkpoints are “point-in-time” images of a virtual machine. When a checkpoint is created it uses the Volume Shadow Service (VSS) to capture the virtual machine similar to a backup. Memory and hardware configuration are not captured. New virtual machines use production checkpoints as the default.
5. Shielded VM
Great new feature gives us ability to protect a Hyper-V virtual machine from access or tampering by using a combination of Secure Boot, BitLocker encryption, virtual Trusted Platform Module (TPM) and the Host Guardian Service. The shielded VM will not run unless the Hyper-V host is on the Host Guardian Service. An administrator without full rights to the shielded VM can power it on and power it off but cannot alter its settings or view the contents.
Another news:
Windows Containers Nano Server
Windows PowerShell Direct
Start order priority for clustered virtual machines
Shared virtual hard disks (with update)
I will install and configure everything on 2 Hyper-V hosts.
HVTEST01
HVTEST02
Let’s start by installing Hyper-V role. You can install the Hyper-V role in Server Manager or by using Windows PowerShell. We will cover both.
HVTEST01
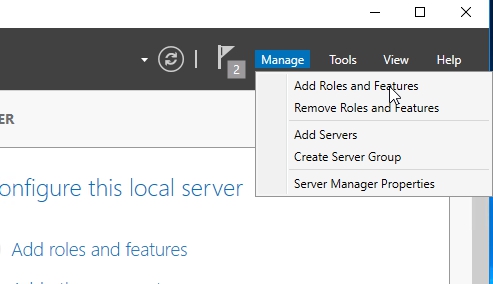
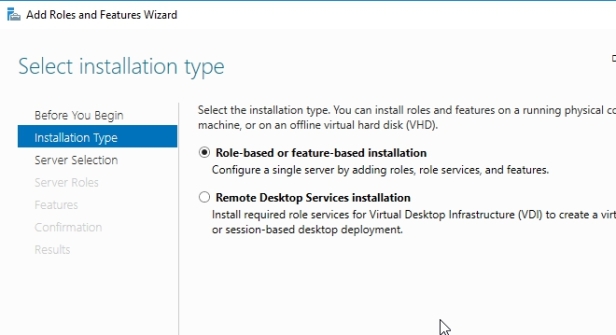
Install the Hyper-V role by using Server Manager
Walk through the steps, choosing the default settings.

When you come to the Server Roles screen, select Hyper-V. Upon selecting the role, you will be prompted to confirm the installation of additional features. Go ahead and click on Add Features and click Next

In the features selection we will keep the default settings and click on next. Click next on the Hyper-V description page. On the Create Virtual Switches, VM Migration and Default Stores page click next (We will configure Virtual Switch, VM Migration and Default Stores later)


On the Confirm installation selections page, select Restart the destination server automatically if required, and then click Install.


Open Hyper-V Manager by clicking on Tools in Server Manager and choosing Hyper-V Manager

HVTEST02
Install the Hyper-V role by using PowerShell
Open Windows PowerShell session with elevated user rights (Run as Administrator)
Type Install-WindowsFeature –Name Hyper-V -IncludeManagementTools – Restart to install the Hyper-V role and automatically restart the server after the installation of the role


No comments:
Post a Comment