How to Install and configure Active Directory Certificate Services 2016 – Part 1

AD Certificate Services is the Server Role that allows us to build a public key infrastructure (PKI) and provide digital certificate and digital signature for our organization.
I will utilize existing DC in my network (which I deployed in previous part) and install CA roles on it. This make sense because Enterprise CA services are so tightly integrated with AD. Many times, “in the real world” the CA role is installed onto a Domain Controller.
Let’s get started.
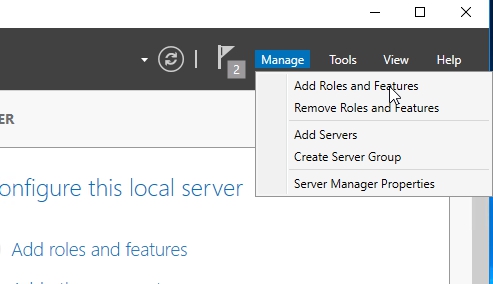
Open Server Manager and click on the Manage –> Add roles and features.
Walk through the steps, choosing the default settings.


When you come to the Server Roles screen, select Active Directory Certificate Services. Upon selecting the role, you will be prompted to confirm the installation of additional features. Go ahead and click on Add Features and click Next

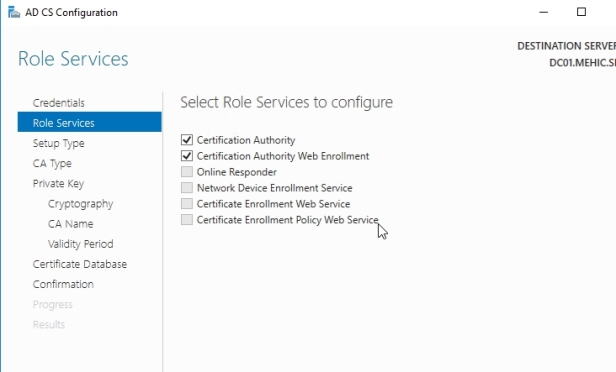
Click next 2 times and you will come to the Role Services screen. We can see a few different options that can be used and I will install Certificate Authority (Default) and Certification Authority Web Enrollment (Which provides a web interface that allows users to request and renew certificare etc.). Make sure to allow additional features to be installed.

Click Next through the remaining screens until you reach the last page where you click on the Install

When the installation is completed, we will see a link that says Configure Active Directory Certificate Services on the destination server. Click on it.

Click next

Choose Certificate Authority and Certification Authority Web Enrollment and click next
Choose Enterprise

Choose Root CA. Because this is our first CA server.

Choose Create a new private key

On the Cryptography screen, leave the key lenght as default (2048) and be sure that hash algorithm is set to SHA256. Click next
SHA1 has been deprecated.

Click Next.
OBS!! We can modify Common name if we want to. Common name does not have to match server name. It is the name which will show up inside Active Directory as well as inside the certificates that you issue from this CA.

By Default Certificate is valid for 5 years. Click next

Continue through the remaining screens, leaving the default options set in place and on the confirmation page click on configure.

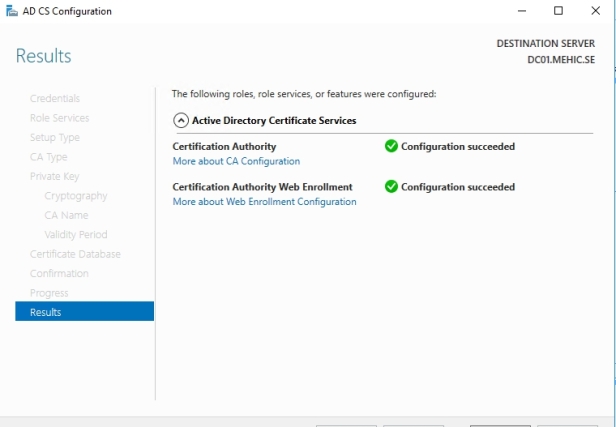
Installing and Configuring is Done.
On the Server Manager, click Tools, and then click Certification Authority


In the first part of this series, we’ve installed and configured Certificate Authority. In the Part 2 we will take a look on Certificate Templates.
No comments:
Post a Comment